


CHRISTMAS TURKEY CROWN: The Duality of the Turkey - Part 1
It's time to save Christmas Dinner!!


Without fail, every year around this time, my phone starts lighting up with the same urgent plea: "Shane! SOS! How do I make a Christmas turkey?!" And every single time, I brace myself. It’s not because I don’t want to help—on the contrary, I live for this stuff—but because explaining my process over a text or call can make it sound, well… intimidating.
But here’s the secret: with a little planning, patience, and finesse, you can pull it off with military precision and earn your rightful title as the Holiday Hero. My approach is rooted in simplicity and designed to achieve the perfect bird. So, what does that even mean?
To me, the perfect turkey has:
Moist, juicy meat (no sawdust turkey here).
Even cooking throughout.
Crispy, golden skin.
A balanced, well-seasoned flavour.
A rich, flavourful gravy to top it all off.

Admittedly, these goals can feel impossible when taking the traditional turkey route. After all, the turkey’s bizarre anatomy—a conglomerate of odd angles and mismatched parts—seems like nature’s cruel joke on holiday cooks. But fear not: we’ve got solutions.
The Anatomy of the Problem
The biggest hurdle in cooking turkey is its two distinct muscle groups:
The breast (white meat): slow-twitch, inactive muscle fibres that dry out faster than your Christmas tree in January.
The legs (dark meat): fast-twitch, heavily-used muscle fibres full of connective tissue that need longer, higher-heat cooking to break down properly.
By the time the legs are tender and cooked, the breast is typically a dry, stringy tragedy. SAD!
The Two Winning Methods
To combat this, there are only two approaches worth considering:
Spatchcocking: Removing the backbone and flattening the bird for even cooking.
The Crown Method (my favourite): Separating the legs and cooking them separately from the crown (the breasts).
I know, I know—it sounds like extra work. But trust me, it’s worth it. Separating the legs has several advantages: faster cooking time, better seasoning, evenly cooked meat, crispy skin all over, and extra trimmings for your gravy stock. Yes, it’s a bit more prep, but the payoff is a masterpiece of culinary art.
Now, let’s get down to business.
Preparation (24-48 Hours Before Showtime)
Step 1: Thawing
Fresh turkey? Great—move on to the next step.
Frozen turkey? Start defrosting now! Allow 3-4 days in the fridge or, for last-minute scramblers, submerge it (packaging intact) in cold water, changing the water every 30 minutes. Plan for about 30 minutes of thawing per pound.

Step 2: Prepping the Bird
Remove the turkey from its packaging and pat it dry with paper towels.
Check the cavity for the giblets (heart, liver, gizzards) and neck. DO NOT toss these—they’re gold for gravy. Set them aside in the fridge.
Time to Play Doctor
Yes, we’re about to amputate some limbs. Channel your inner 19th-century field surgeon (minus the whiskey, unless you're multitasking). You’ll need a sharp boning knife (or a chef’s knife if you’re bold and/or stubborn).
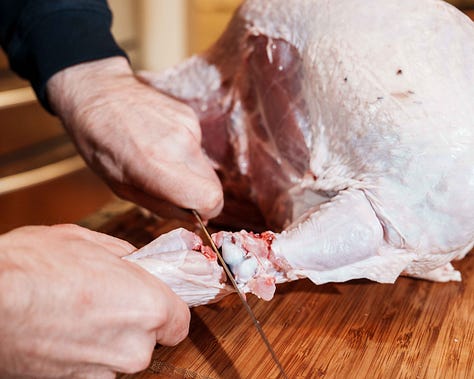
Lay the turkey on its back, breast side up.
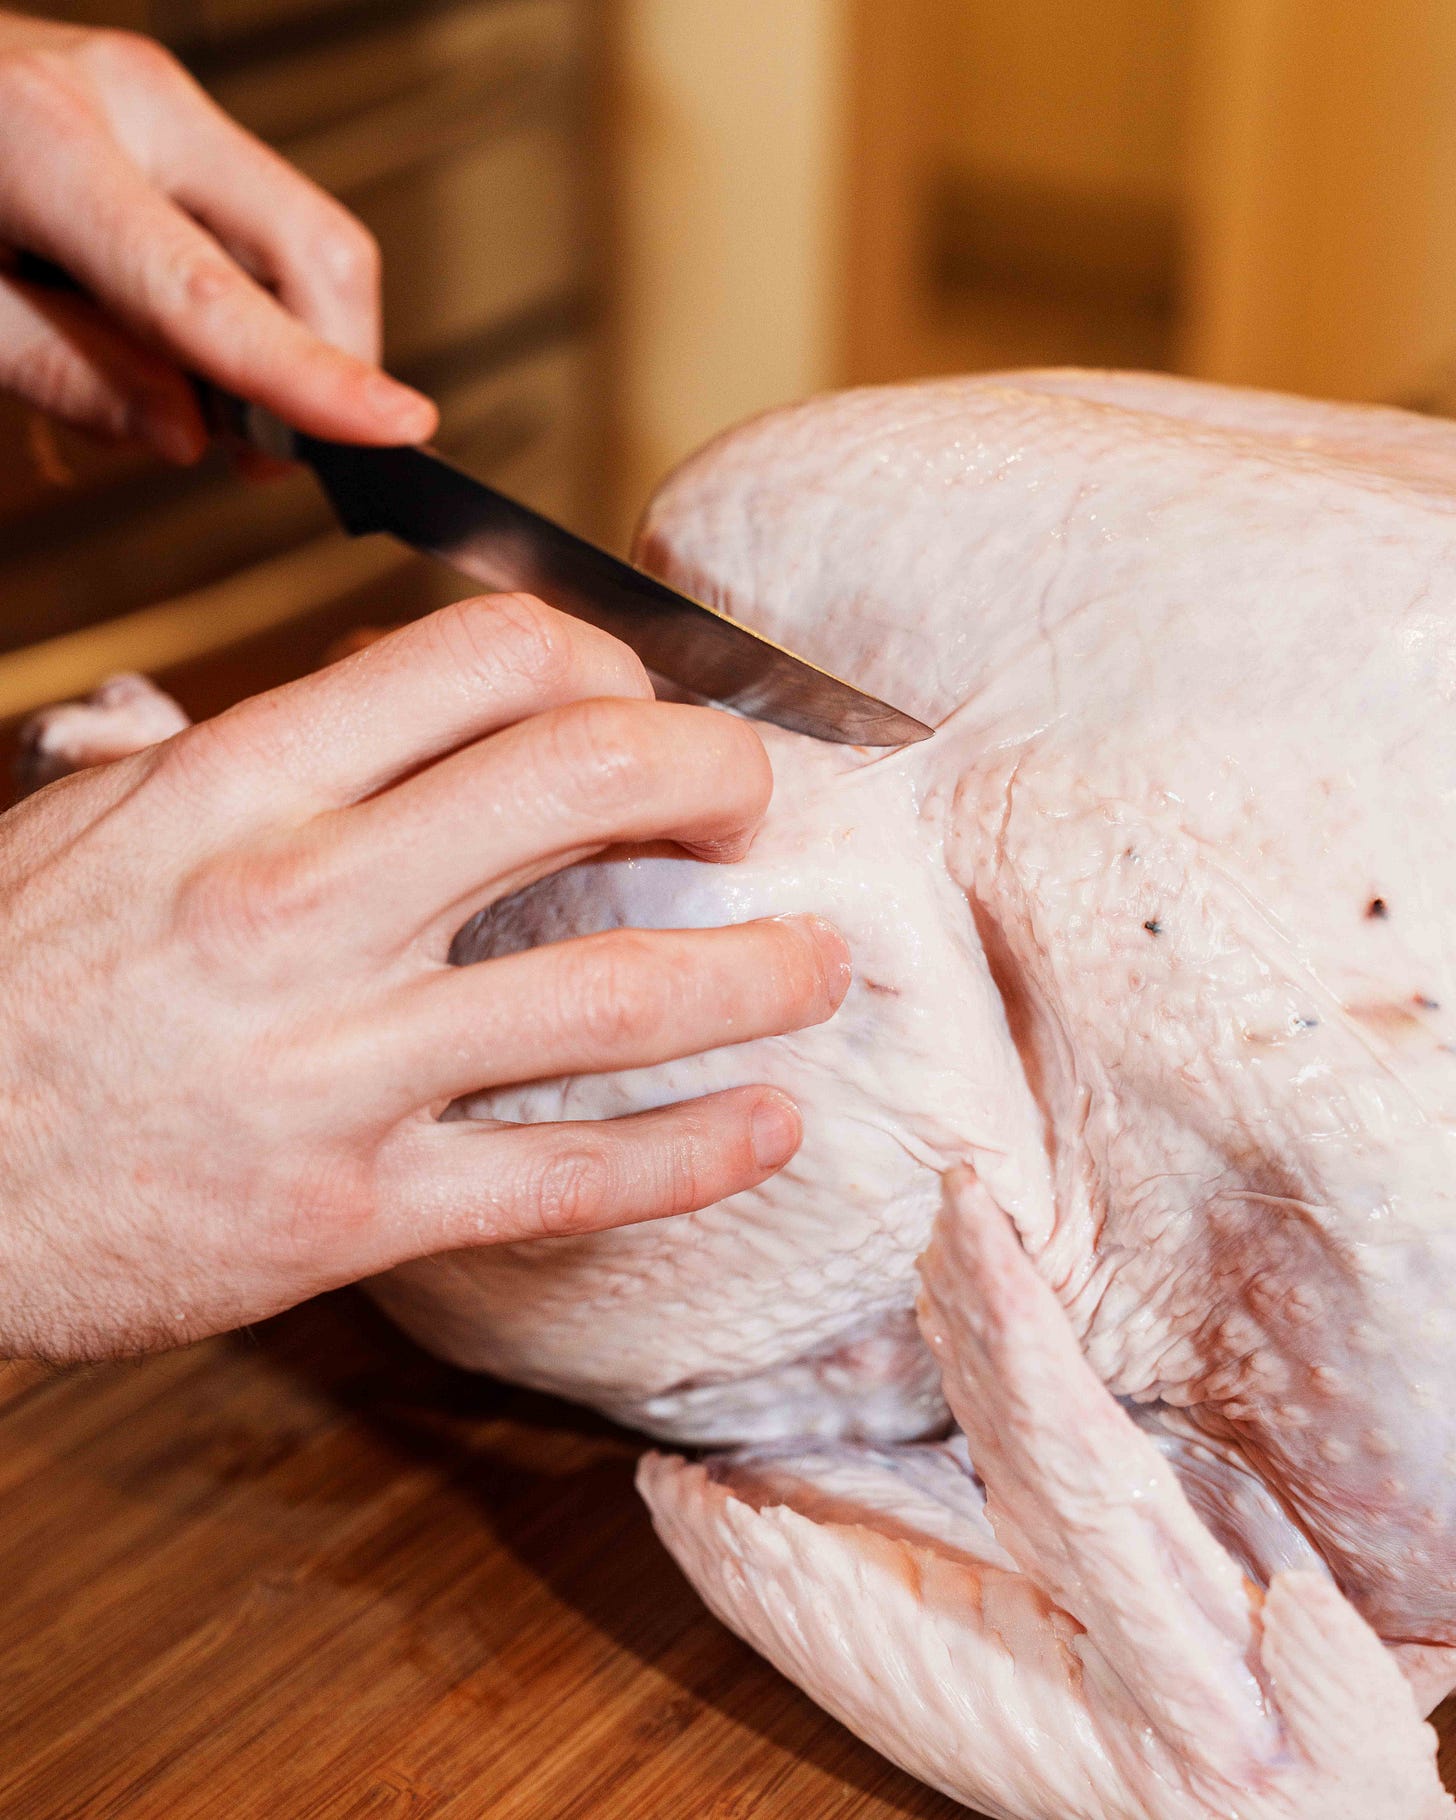
Lining up the leg. Slice between the thigh and body, cutting down to the hip joint. Use some muscle to pop the joint out, then cut the leg free. Repeat on the other side.

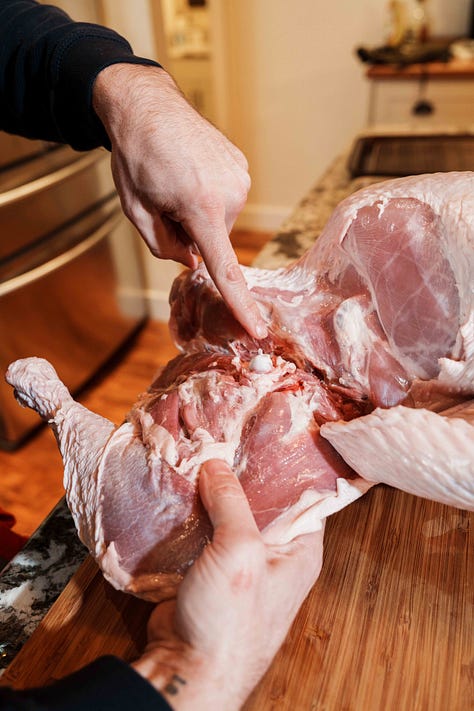
Cutting the Hip Joint. Remove the wings by cutting through the joint where the wingette meets the drum.
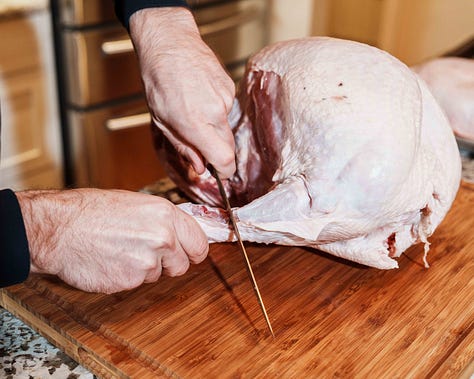
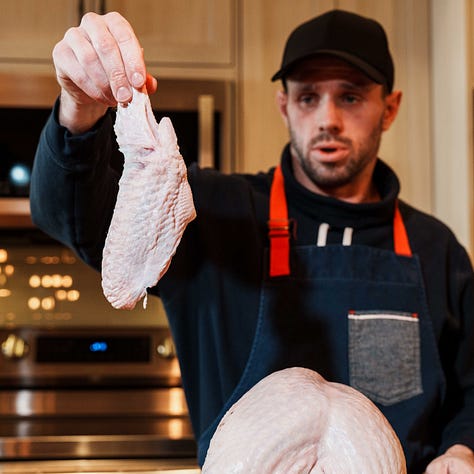
Cutting the Wing Joint. Cut the backbone free from the crown, chopping it into smaller pieces for your stock pile.
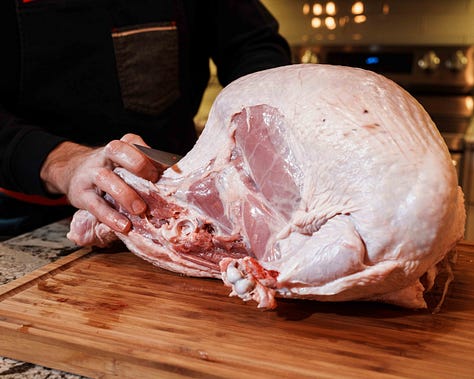


Separating the Spine.


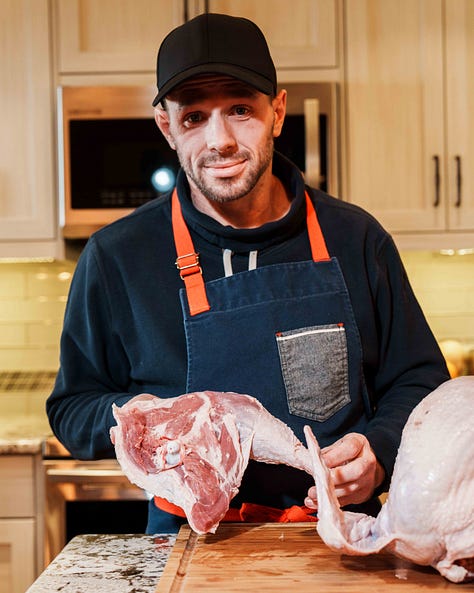
Voilà! You’re left with a beautiful turkey crown, ready for greatness.

Dry Brining (The Game-Changer)
Dry brining is the key to juicy, flavourful meat. As J. Kenji López-Alt explains:
"Brining, whether wet or dry, helps meat retain moisture by breaking down muscle proteins, reducing contraction during cooking. This leads to juicier, more flavourful meat."
Generously season the crown all over (including the cavity) with kosher salt (I recommend Diamond Crystal) and freshly cracked pepper.
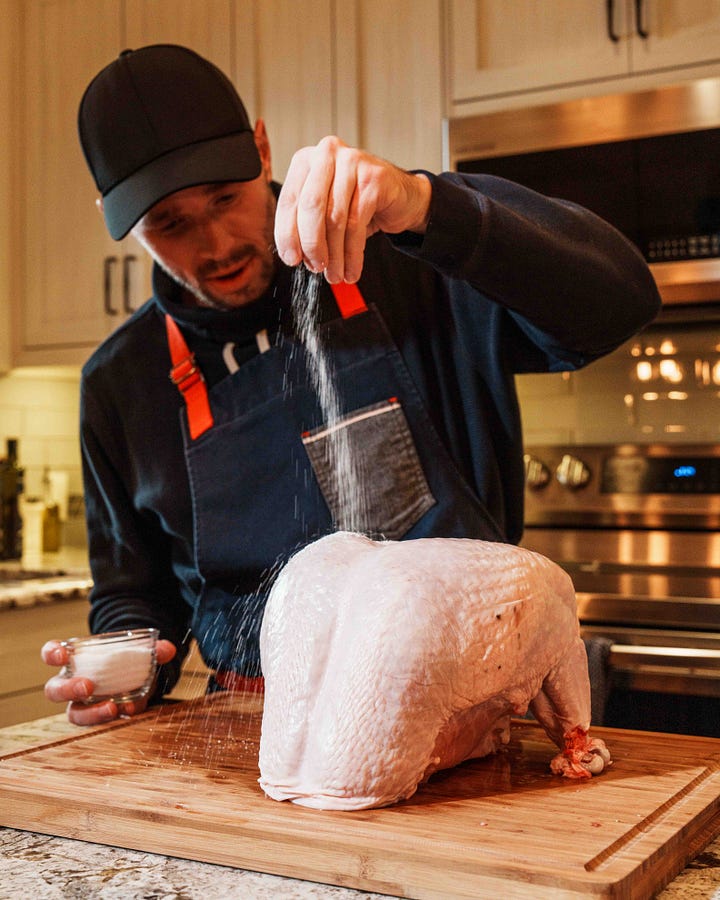
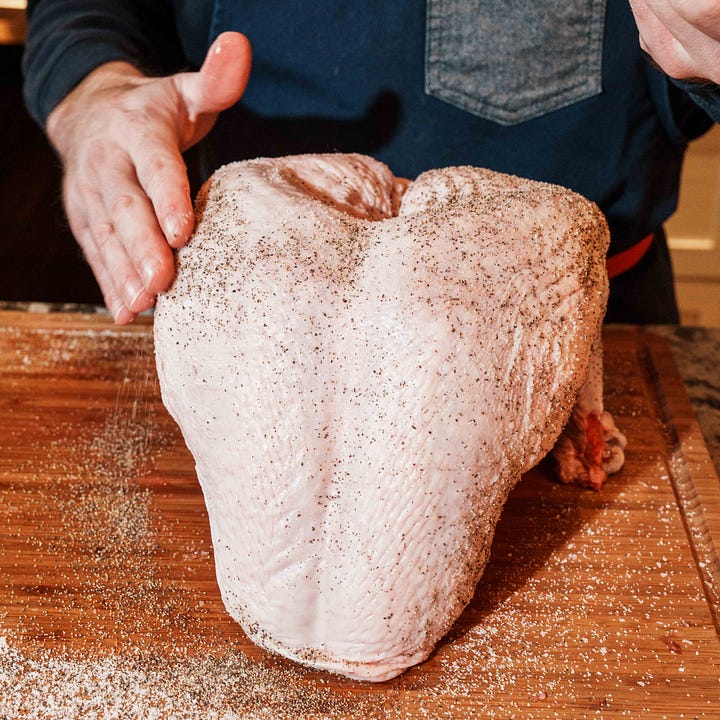
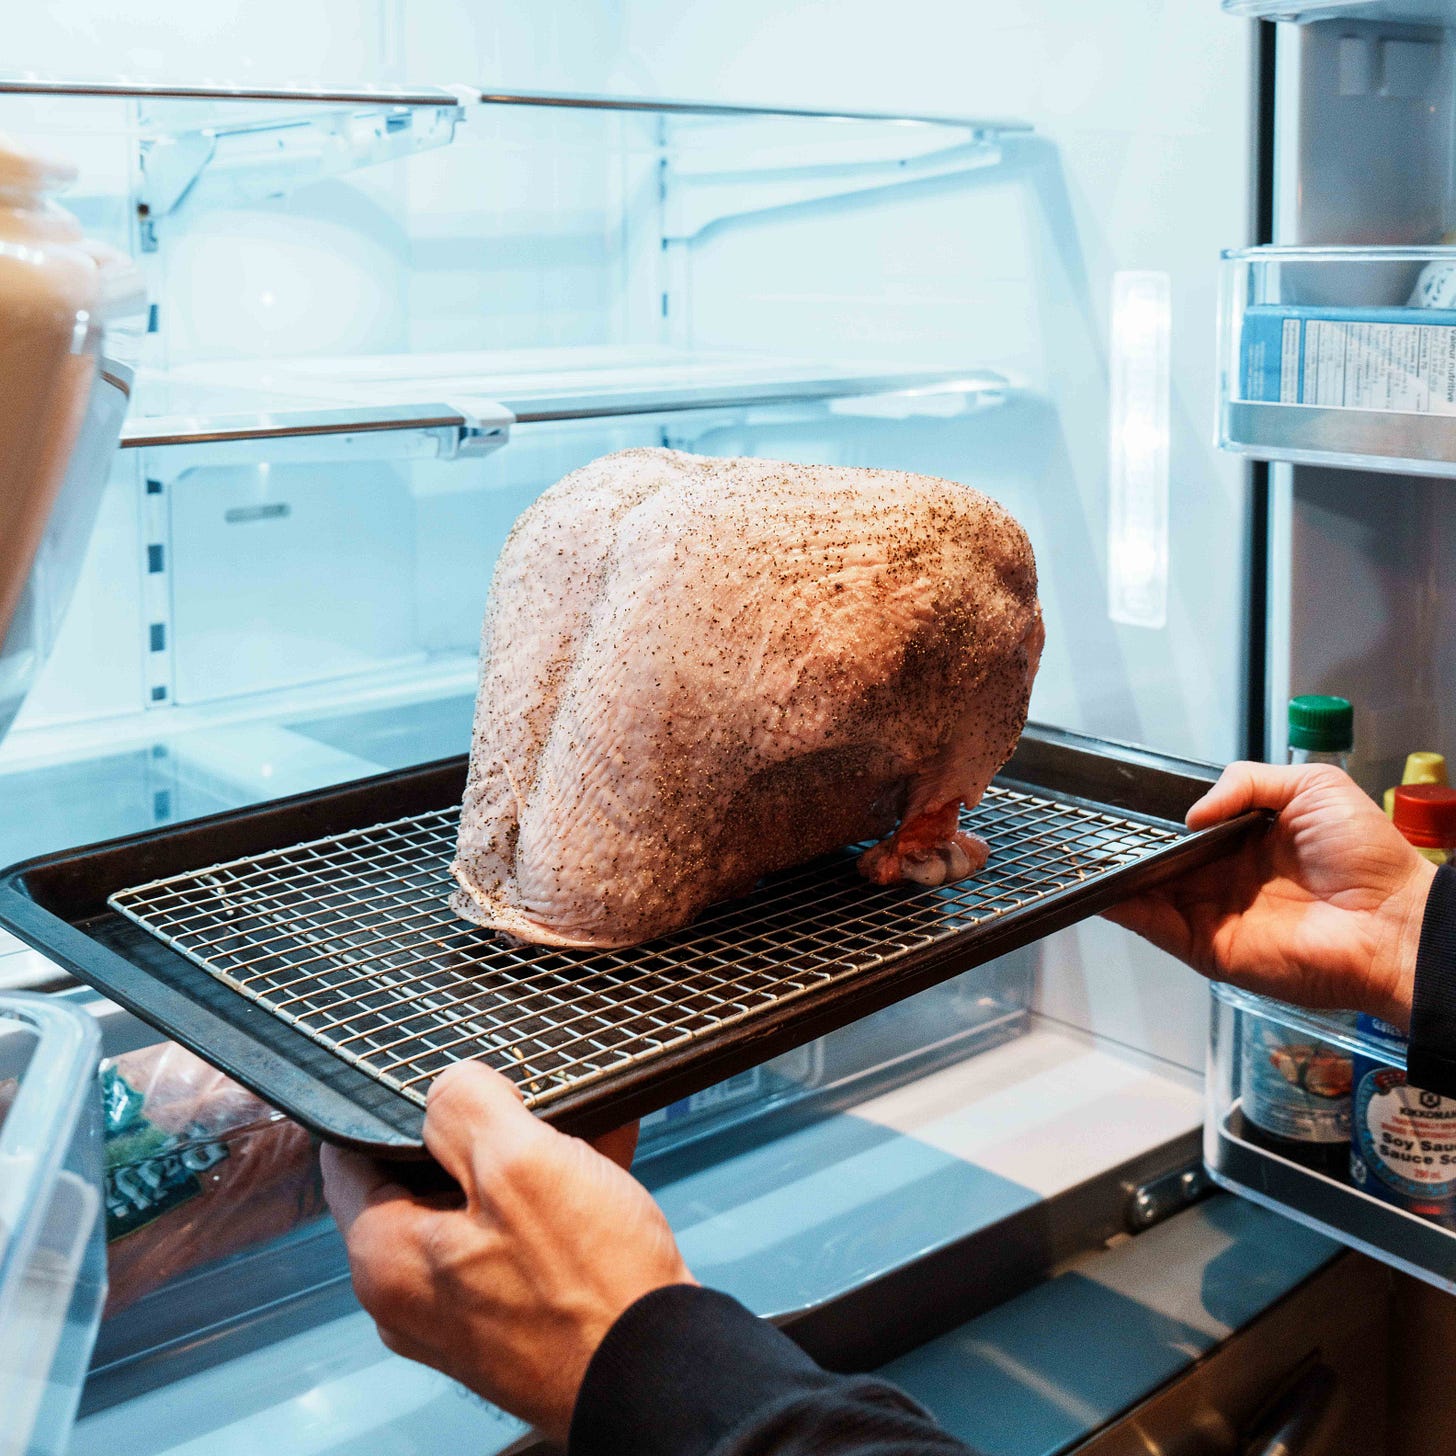
Seasoning the Crown. Place it on a wire rack in the fridge, uncovered, for 24-48 hours. This not only seasons the bird but also dries out the skin for maximum crispiness.


Roasting (7 Hours Before Dinner)
Timing is everything here, so weigh your crown and calculate accordingly: 30 minutes per kilogram. For example, an 8kg turkey minus 1.5kg for the legs = 6.5kg → roughly 3 hours cooking time.
Ingredients for Roasting:

2 carrots, chopped
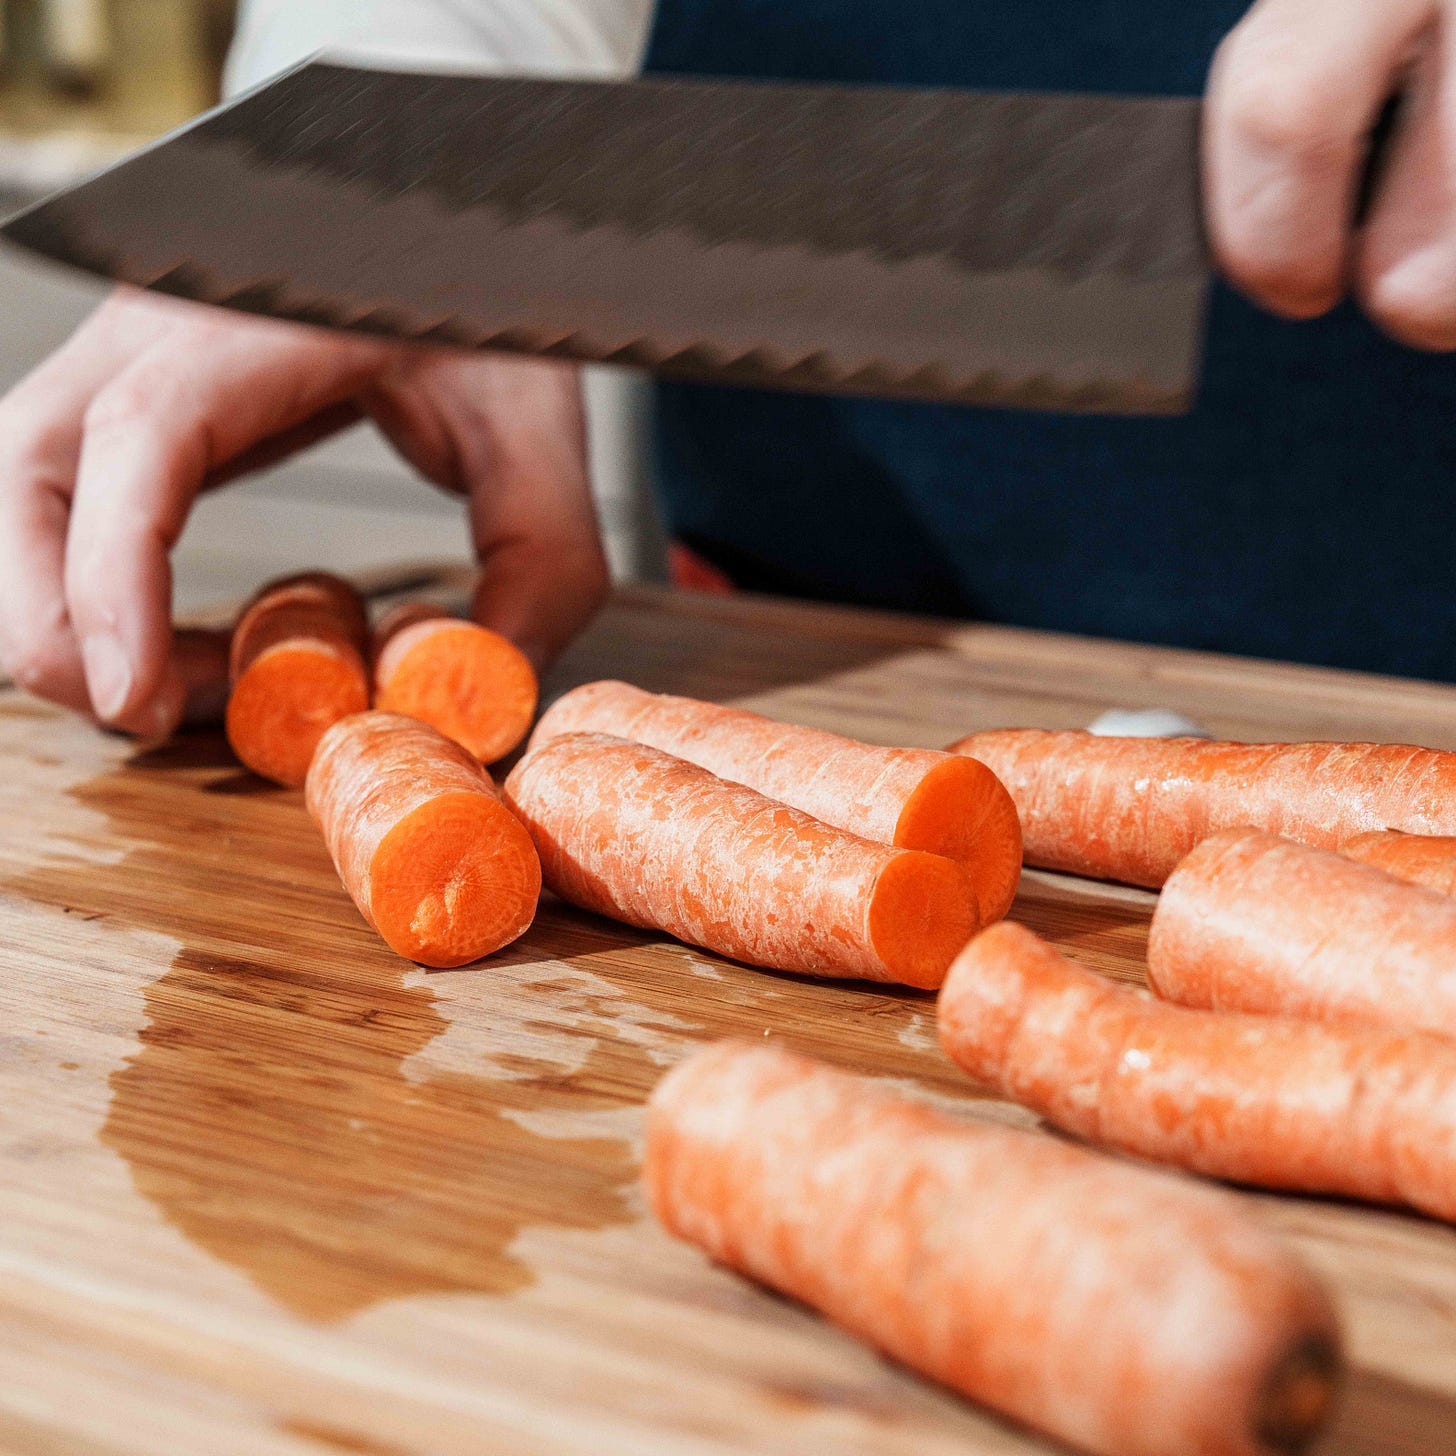
Large sections of Carrot. 1-2 onions (skin on), quartered
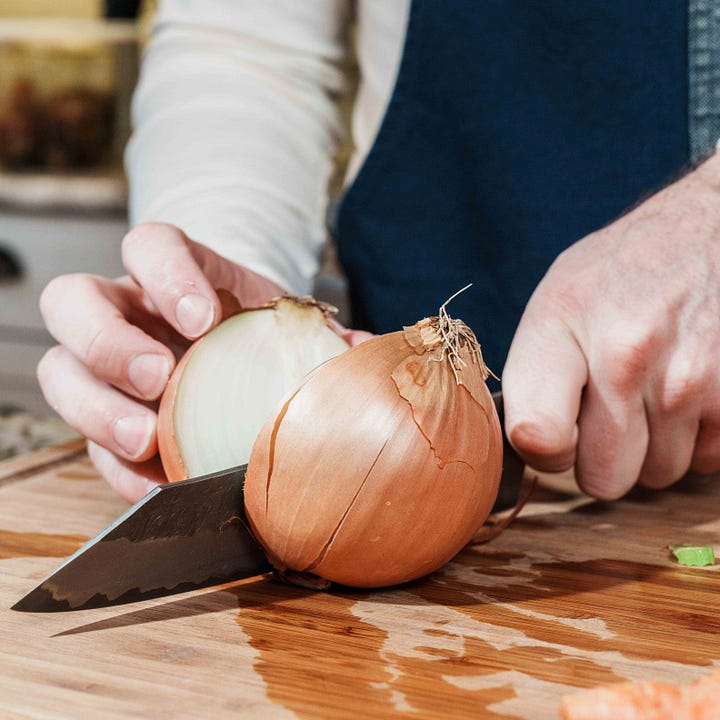
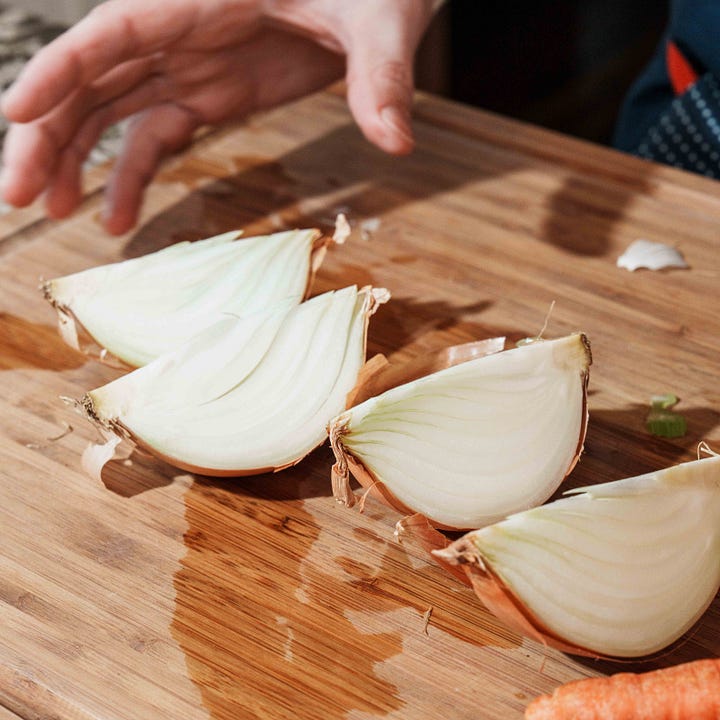
Onions Quartered with Skin. 4 celery stalks, chopped
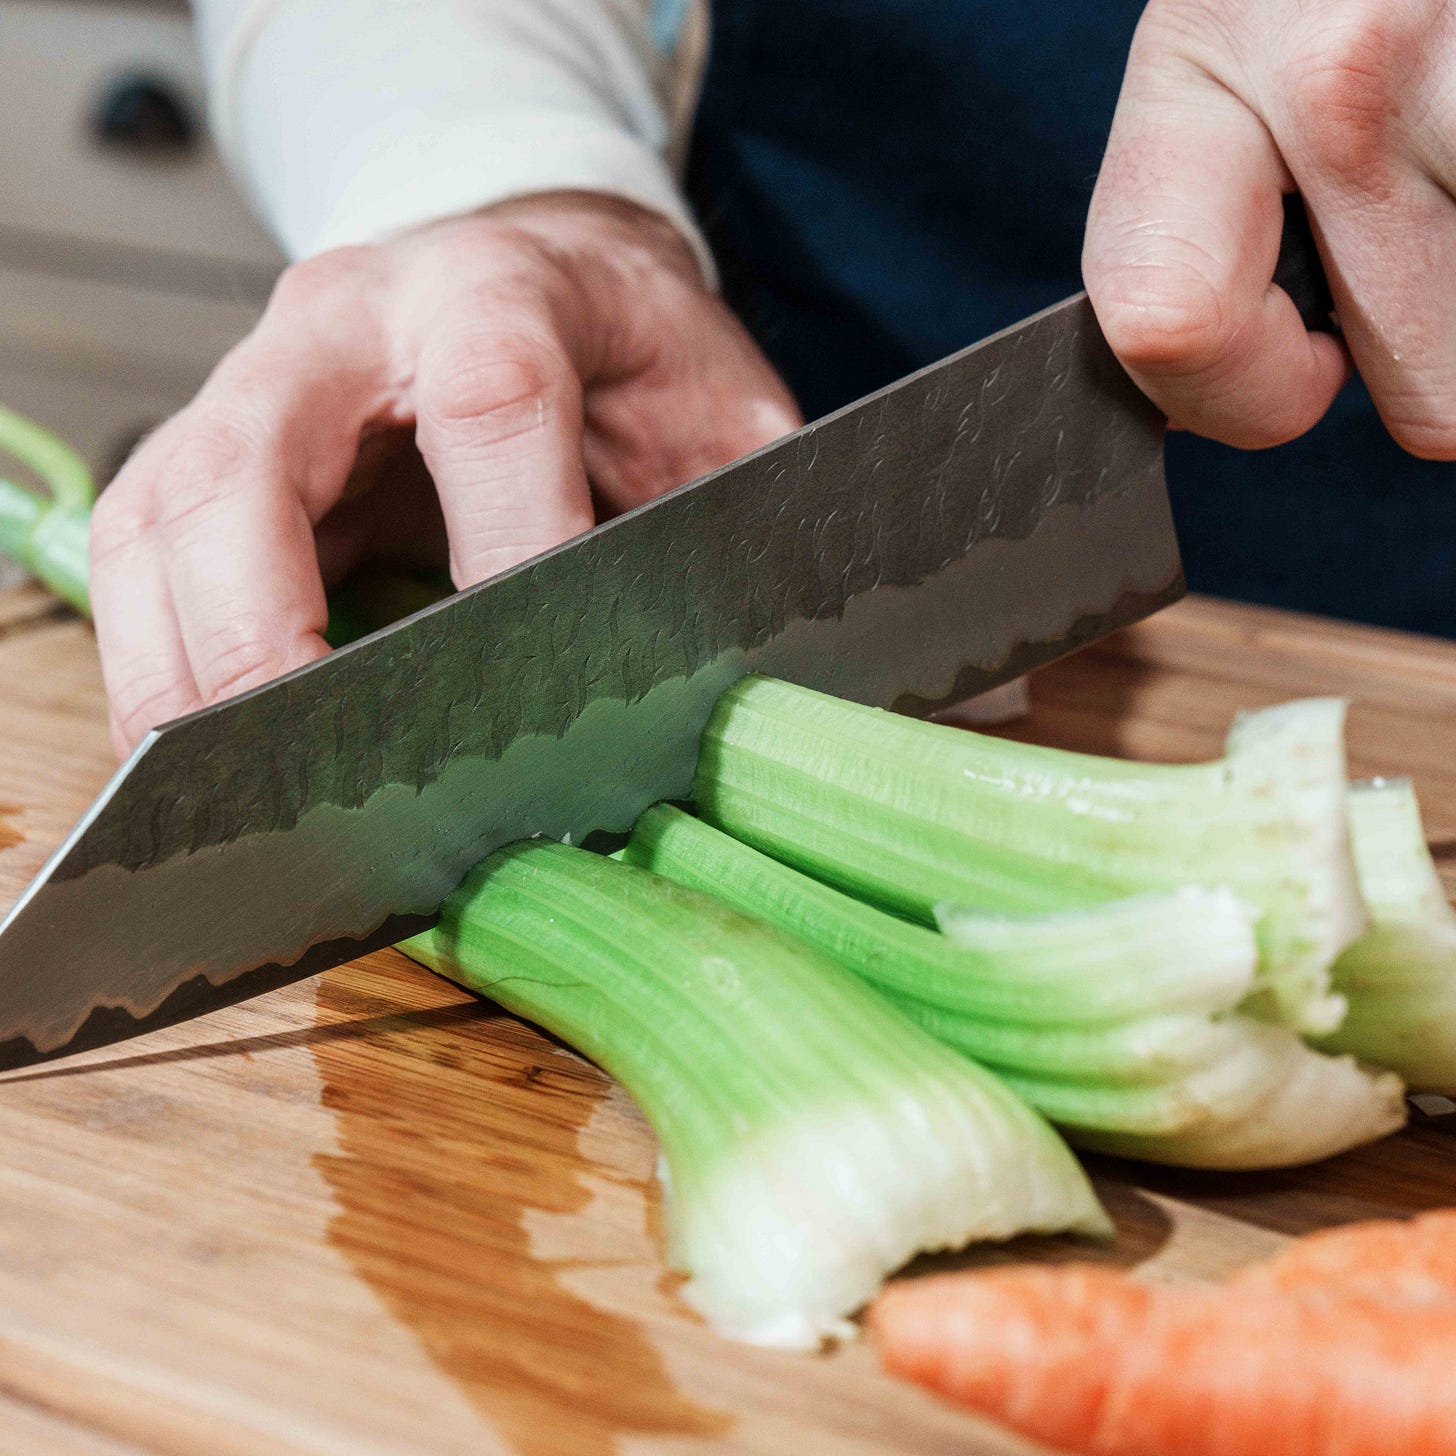
No need to be too precise. 2 garlic bulbs, halved
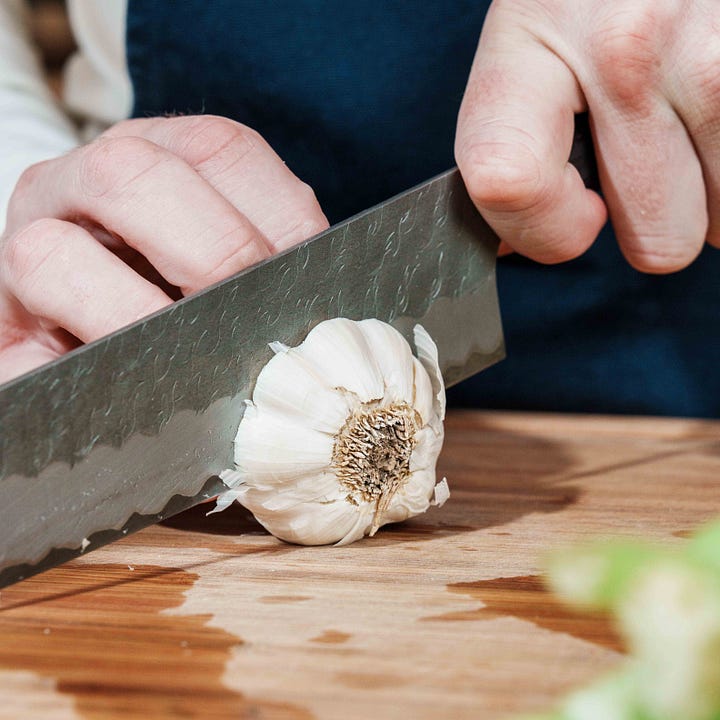
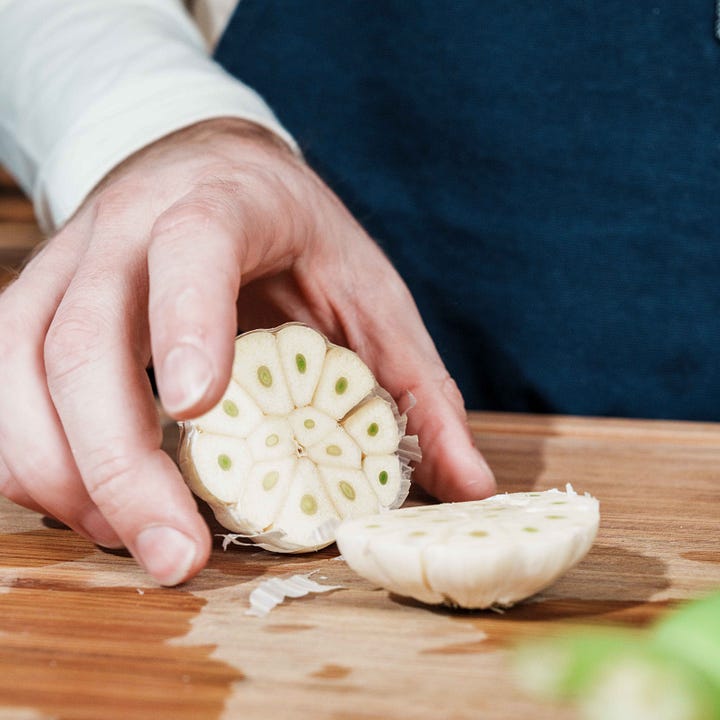
Keep the Skin. Fresh herbs (thyme, rosemary, sage, oregano)
Turkey trimmings (neck, wings, backbone)


Preheat your oven to 350°F (175°C).
Arrange the veggies, herbs, and turkey trimmings in a roasting tray as a natural trivet.
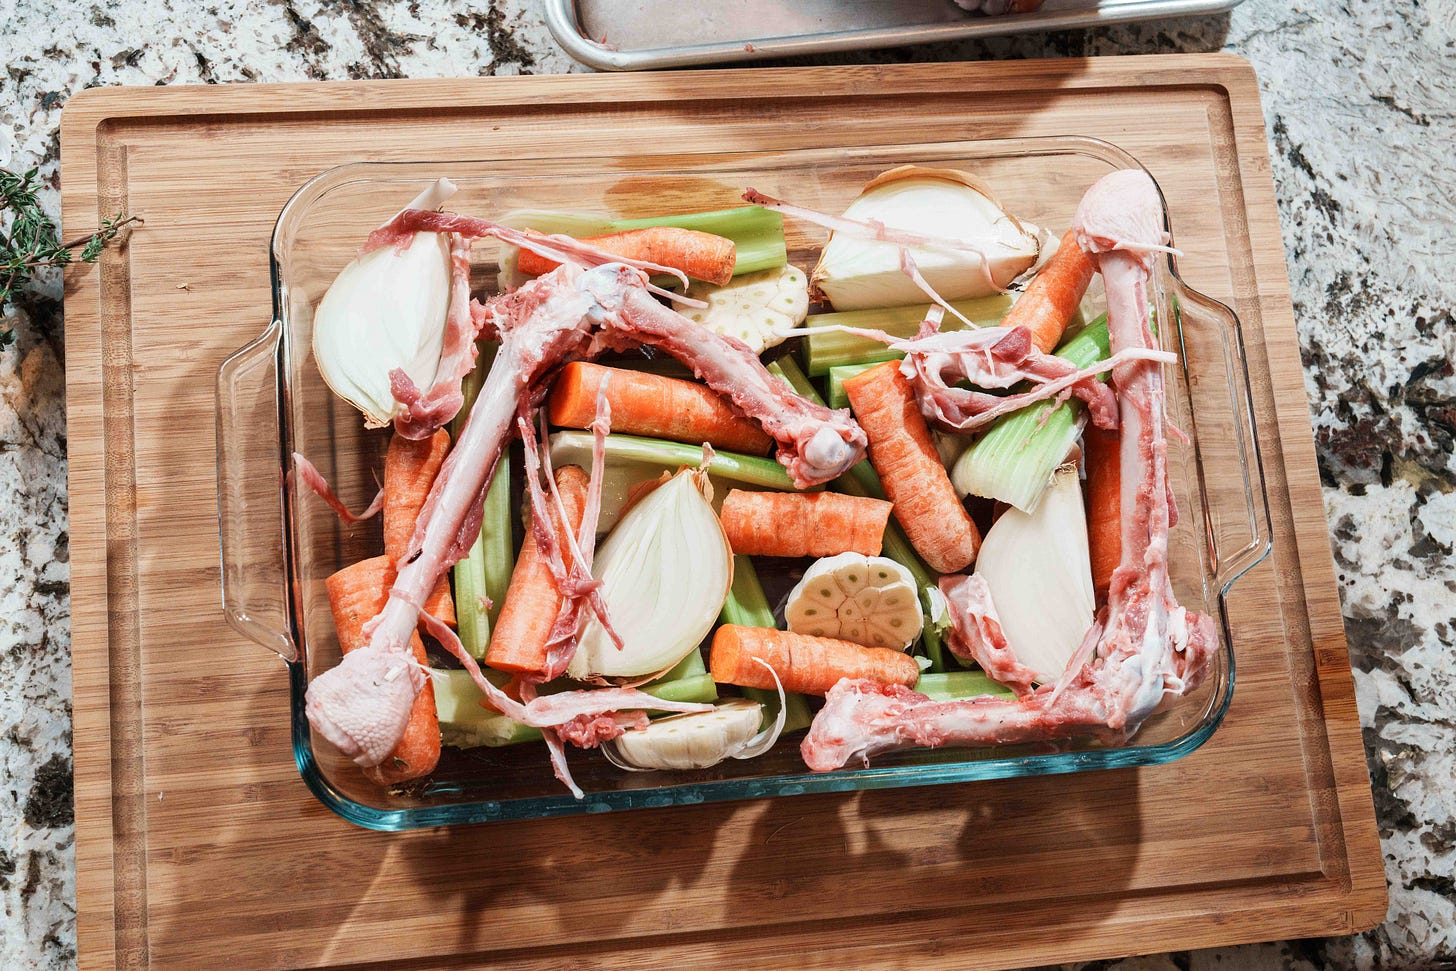
Arranged Tray. Place the crown on top and roast, rotating every 30 minutes.


When the thickest part of the breast reaches 120°F, baste it with the tray juices (optional if you’re a crispy-skin purist).


Continue roasting until the internal temp hits 150-155°F.


Rest the bird. Tent with foil and let it rest for at least 30 minutes before carving.


Gravy: The Grand Finale
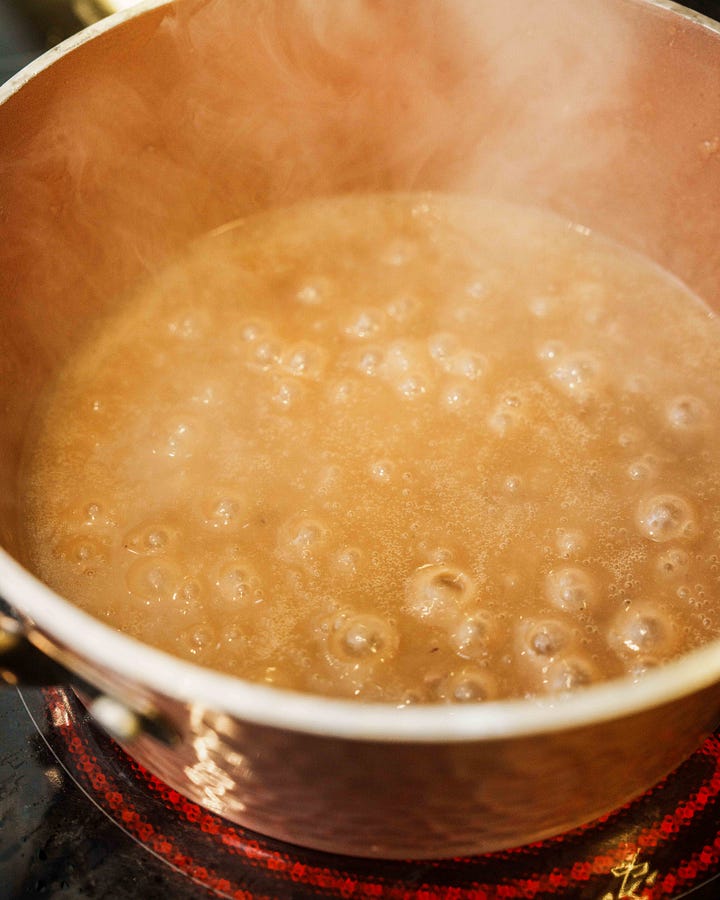
While the turkey rests, use the drippings to craft the best gravy of your life.

Ingredients (per 1 cup of liquid)
1.5 tbsp flour
1.5 tbsp turkey fat
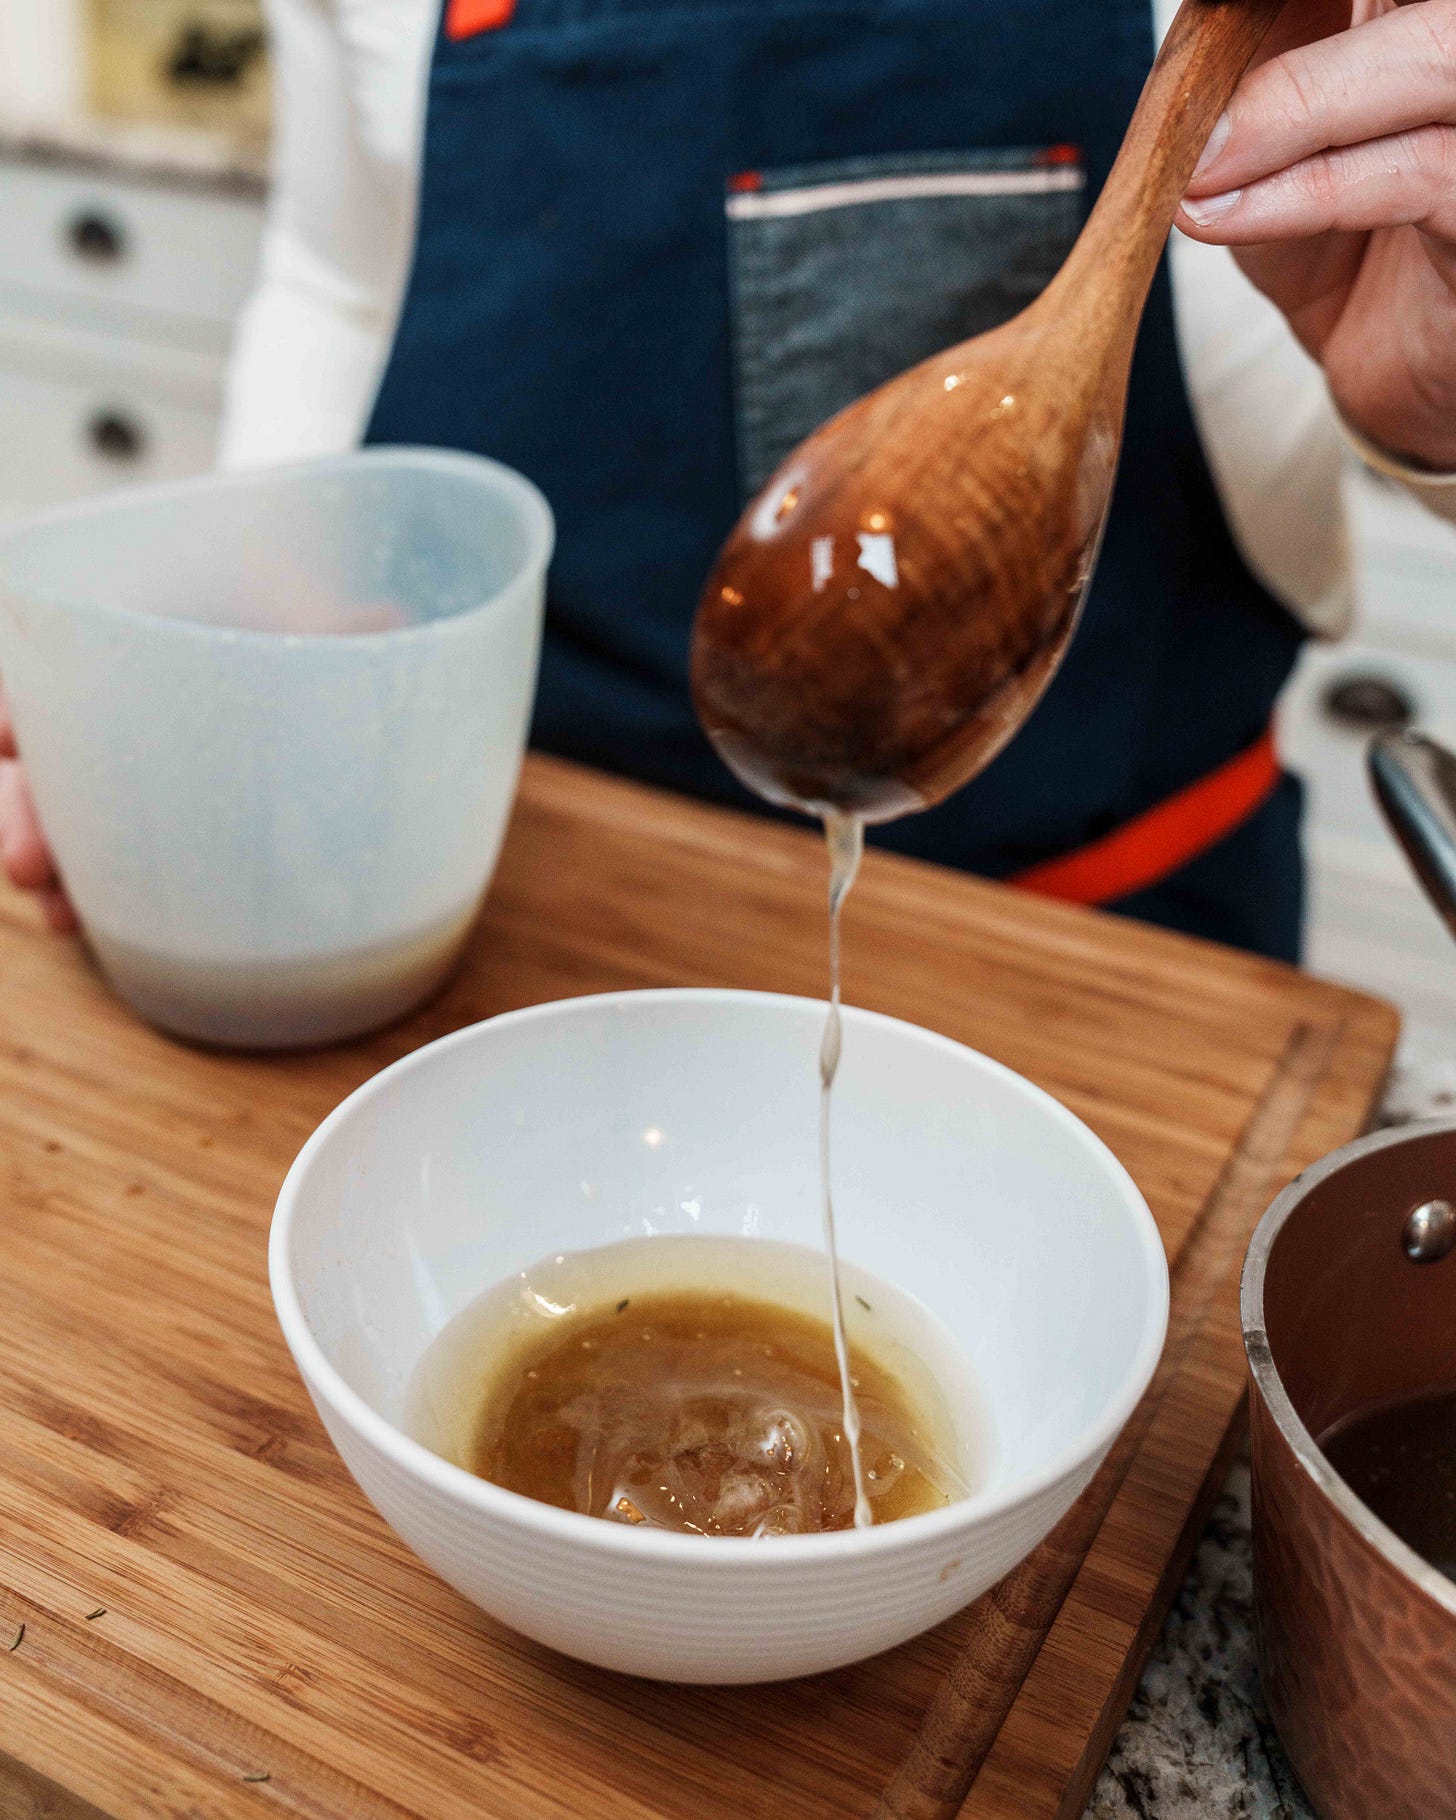
Fat skimmed off the top of drippings. Turkey/chicken broth (to supplement juices)
Giblets, finely diced
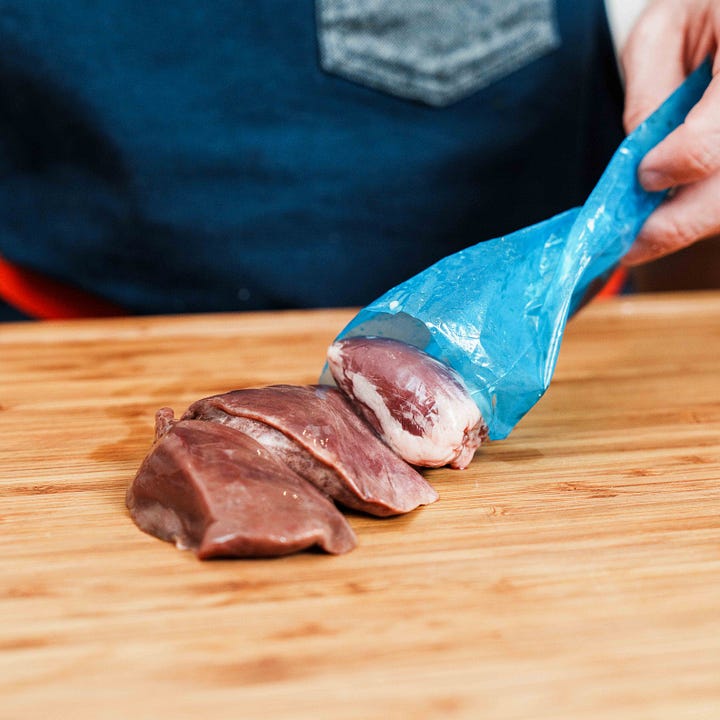
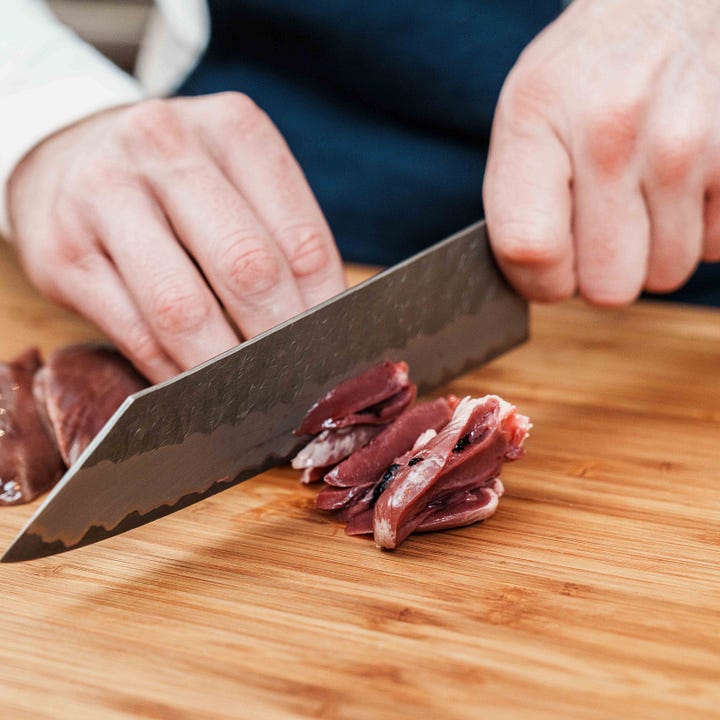
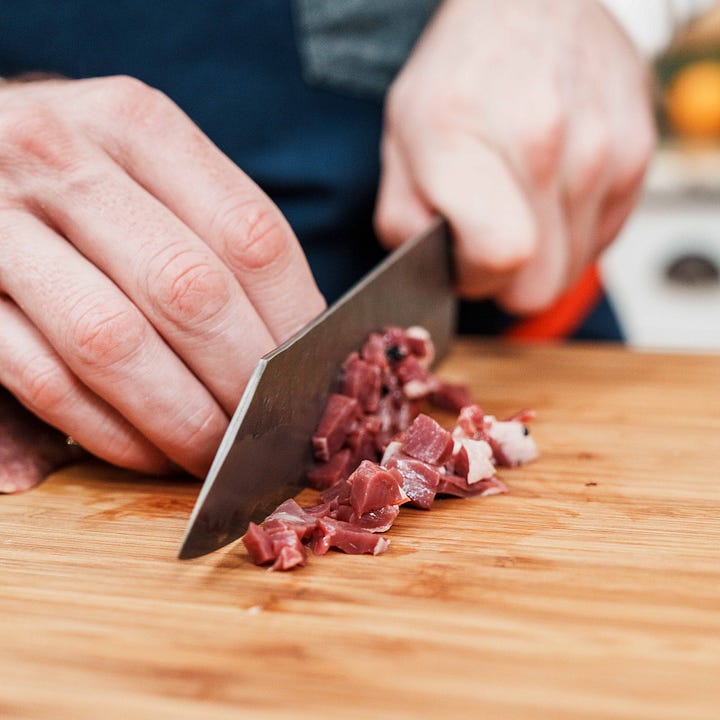
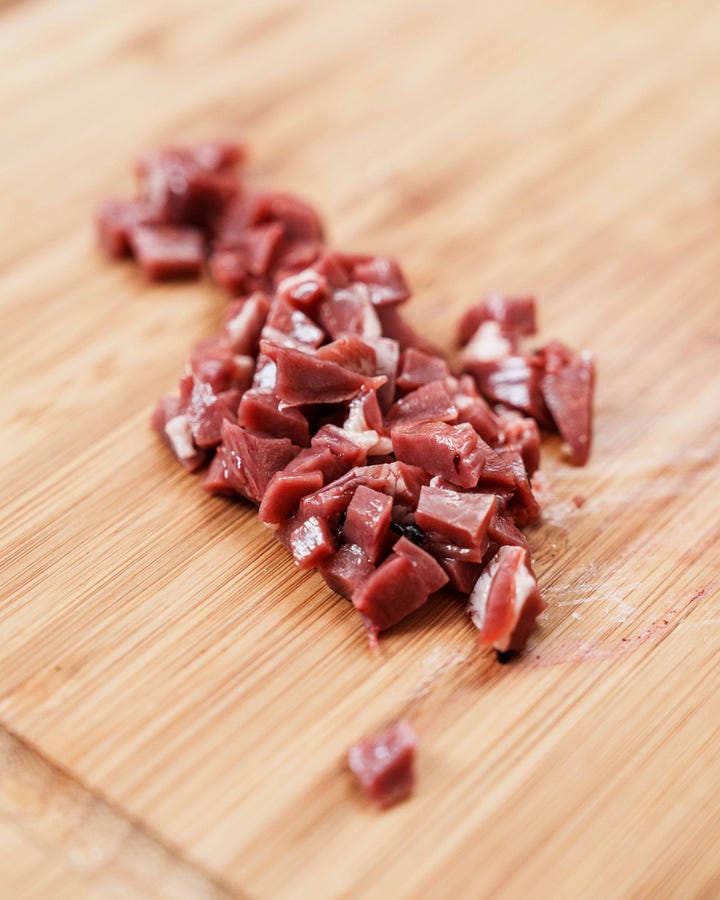
Dice the Heart. 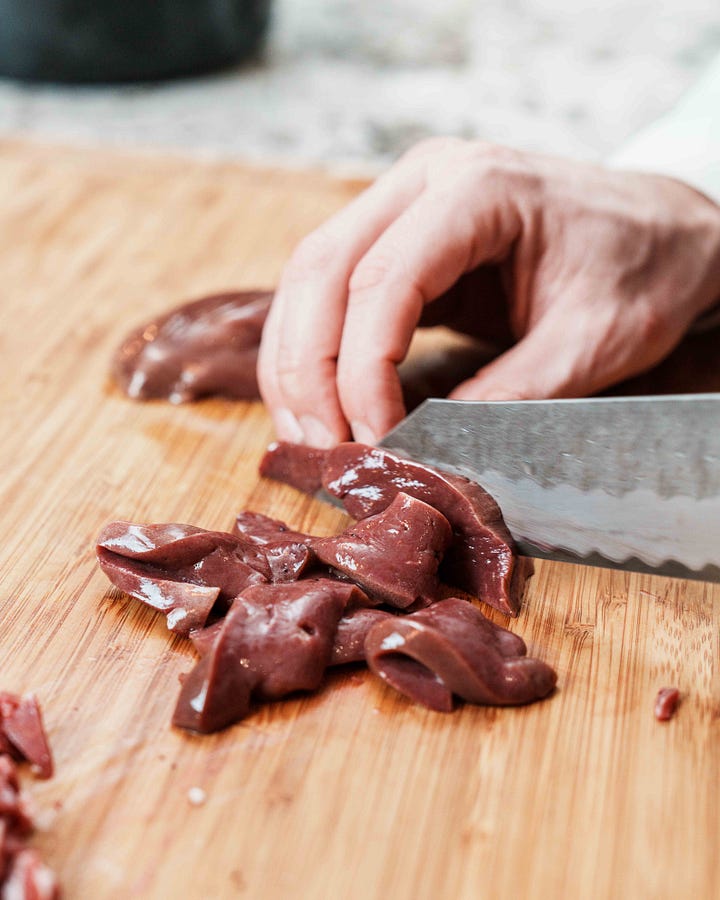

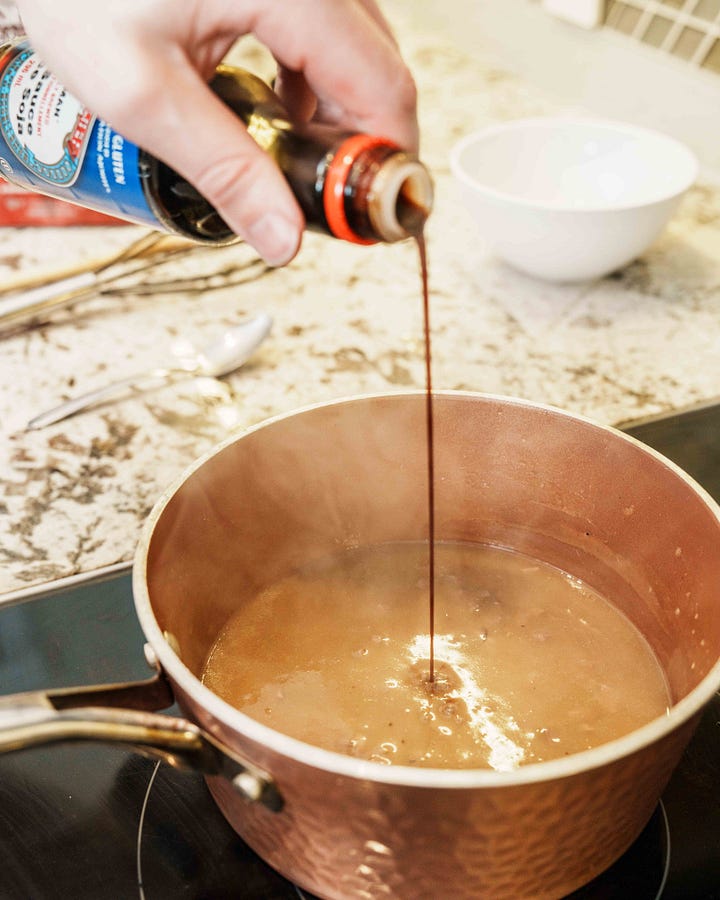
Dice the Liver. 1 tbsp dark soy sauce
Salt and pepper to taste


Brown the giblets in turkey fat.
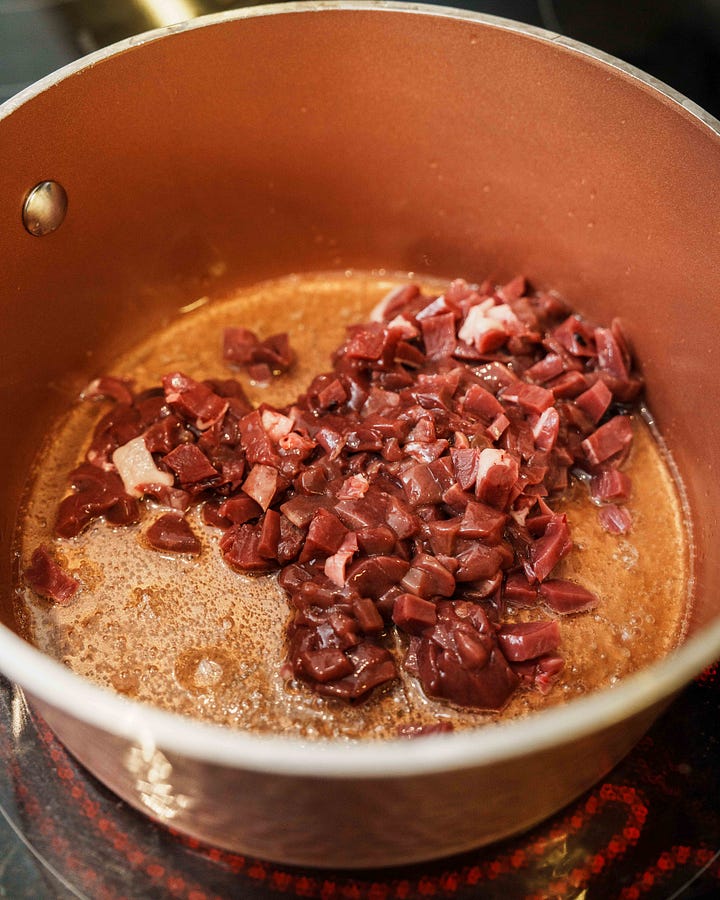
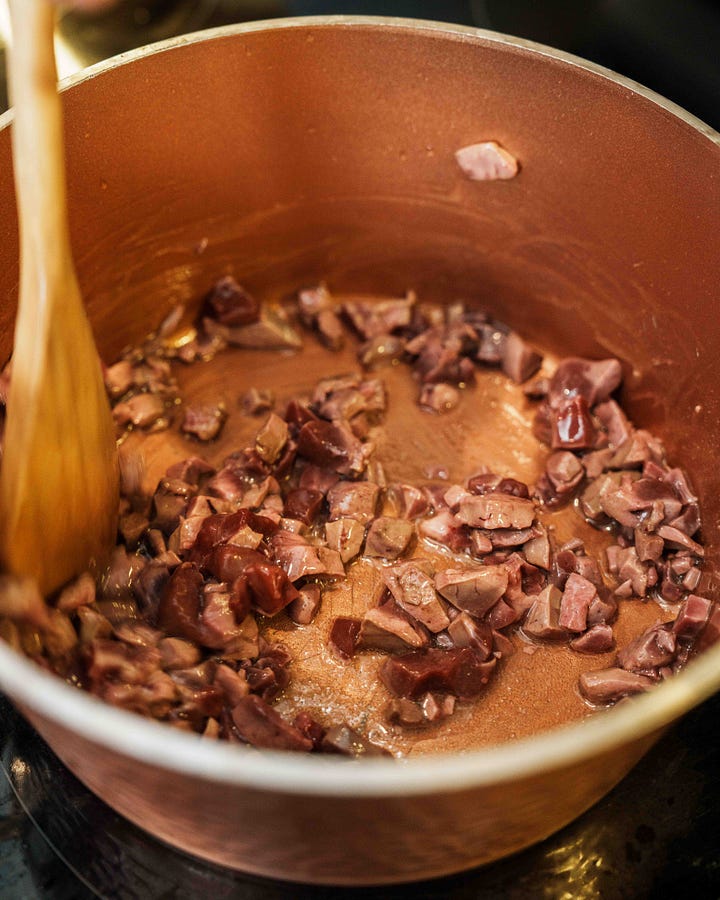
Giblets and Fat in pan. Add flour, cooking for a minute or two.
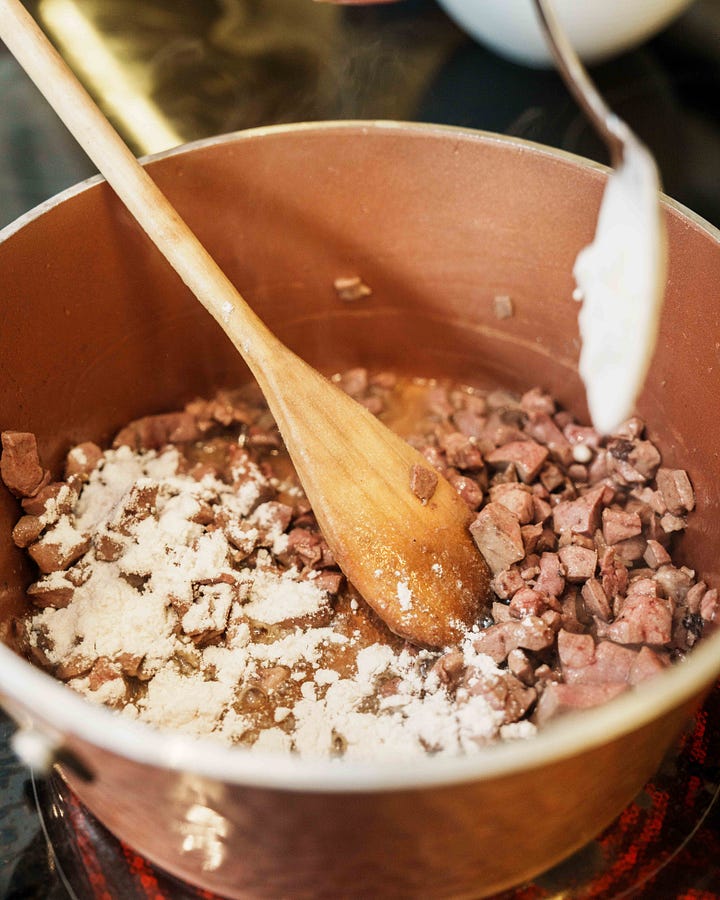

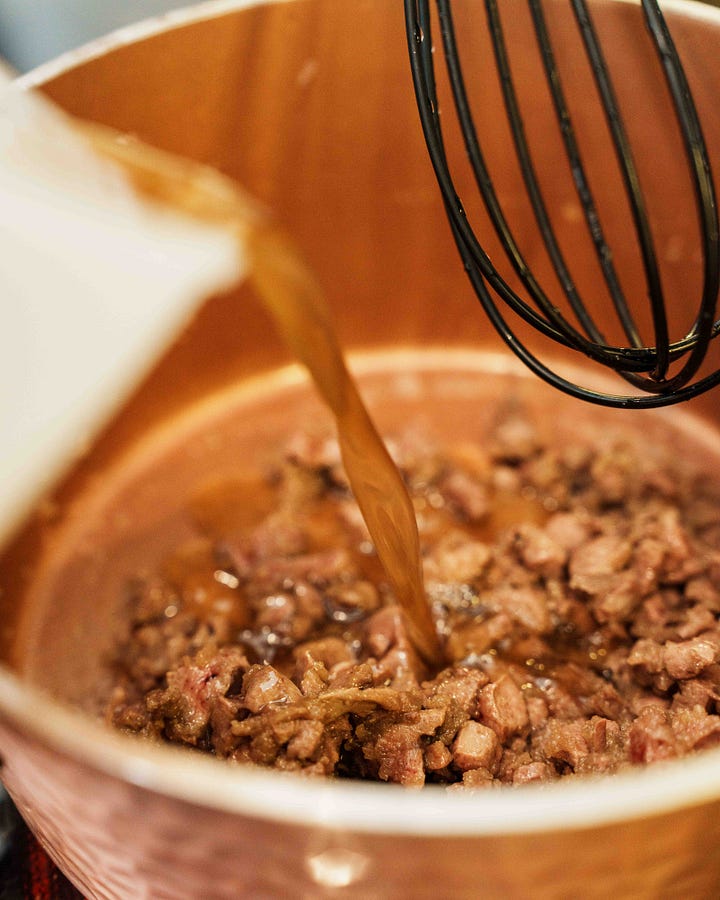
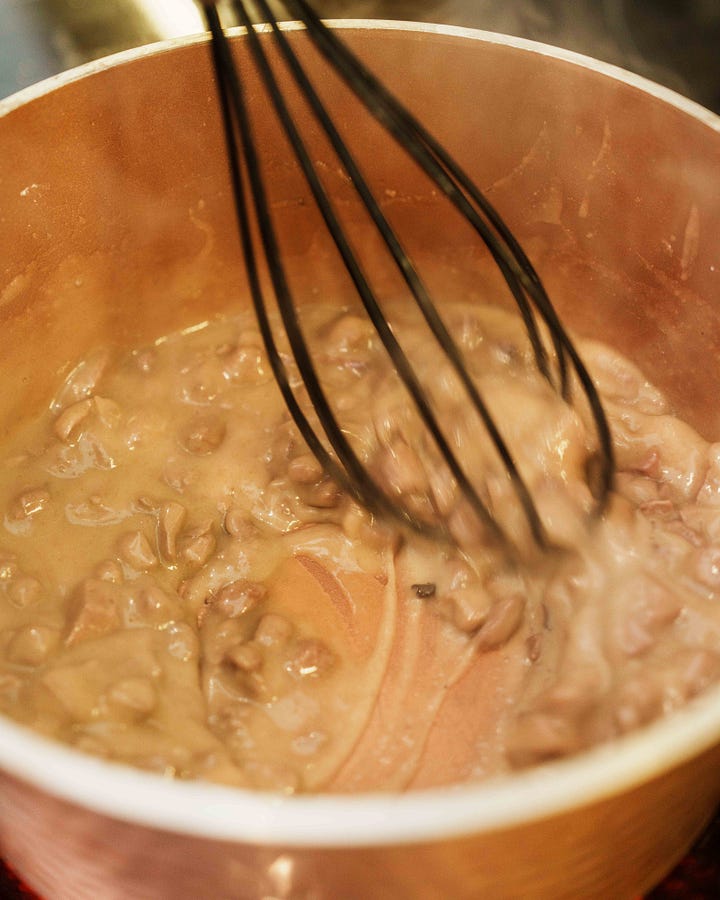
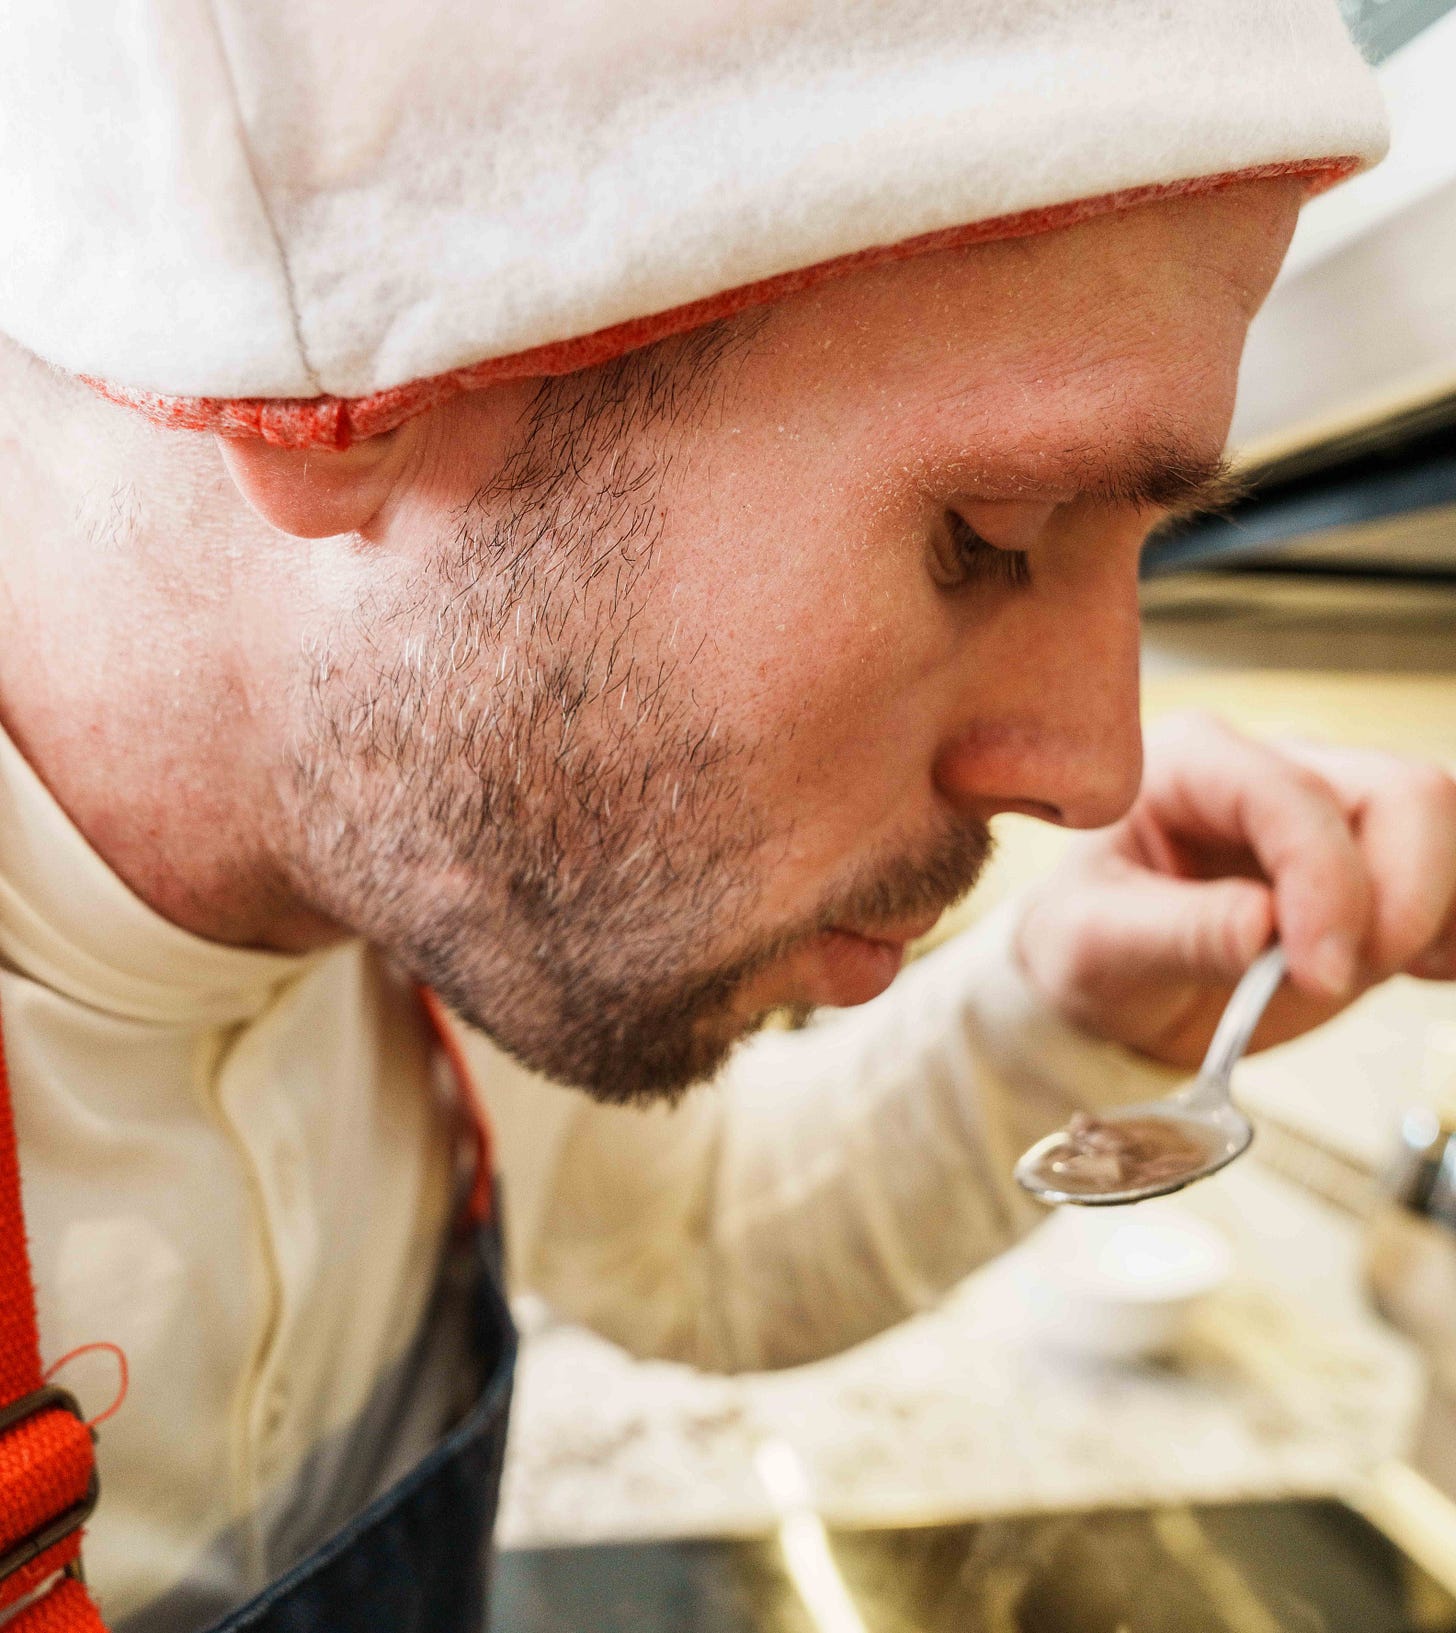
Flour added. Gradually whisk in the drippings and broth, bringing to a boil. Add soy sauce, then season to taste.


In Summary
This method may sound like a lot, but once you’ve mastered it, you’ll never look back. With practice, you’ll achieve culinary nirvana—crispy skin, juicy meat, and bragging rights for days.


Now on to Part 2, where we tackle the legs and align everything into a seamless holiday feast!

And if you enjoyed this recipe, leave a like and comment! It helps our effort at THE COUCH COOK a lot!
